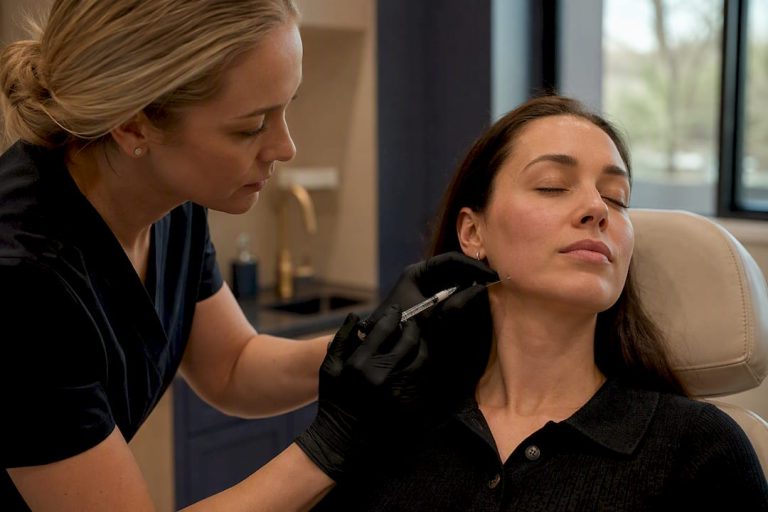

Customized filler placement is the practice of mapping each injection to your specific facial anatomy, proportions, and aesthetic goals before a single syringe is opened. Rather than adding volume to wherever a concern appears, a skilled injector uses a structured assessment, including a facial thirds evaluation and both static and dynamic analysis, to determine where product will create the most meaningful change and how much is actually needed. The result is a treatment that looks like you on a well-rested, balanced day, not a template applied to your face.
Three things set this approach apart from a one-size-fits-all method:
- Anatomy-led planning: the injector evaluates bone structure, soft-tissue compartments, and muscle movement before selecting a product or technique.
- Structural-first sequencing: restoring deep support in the temples, cheeks, and jaw often reduces the need to treat secondary concerns like nasolabial folds or tear troughs.
- Conservative, staged volumes: starting with less product and reassessing at a follow-up appointment lowers the risk of overfilling and preserves natural expression.
At Beautyshotmedicalclinic in Woodbridge, Vaughan, this is the only way treatments are planned.
Why strategic placement beats simply adding more product
Volume alone does not create balance. Placing filler without a structural plan can add bulk where none is needed, shift tissue in the wrong direction, and create a result that looks heavy rather than refreshed. A personalised assessment approach has been shown to more than double six-month patient retention across injectable treatment types, which tells you something important: patients who receive a thoughtful plan are far more satisfied and far less likely to need corrective work.
The practical benefits of a customised approach include:
- Improved facial balance by addressing proportional relationships across the upper, mid, and lower face rather than isolated concerns.
- Longer-lasting harmony because product placed at the correct depth and plane integrates more naturally with surrounding tissue.
- Fewer revisions since a conservative initial volume leaves room to add at a follow-up rather than dissolve an excess.
- Lower complication risk when high-risk zones are identified in advance and technique is chosen accordingly.
- Higher patient satisfaction tied directly to realistic expectations set during the consultation.
Structural-first sequencing is one of the most underused ideas in aesthetic medicine. When you restore volume to the temples and cheeks first, the surrounding soft tissue lifts and repositions. Folds and hollows that looked significant before treatment often appear much less pronounced once that deep scaffolding is back in place, sometimes eliminating the need to treat them at all.
Pro Tip: If you are new to fillers or considering a significant change, ask your injector about a staged approach: treat the structural zones first, wait four to six weeks, then reassess before deciding whether secondary areas need attention.
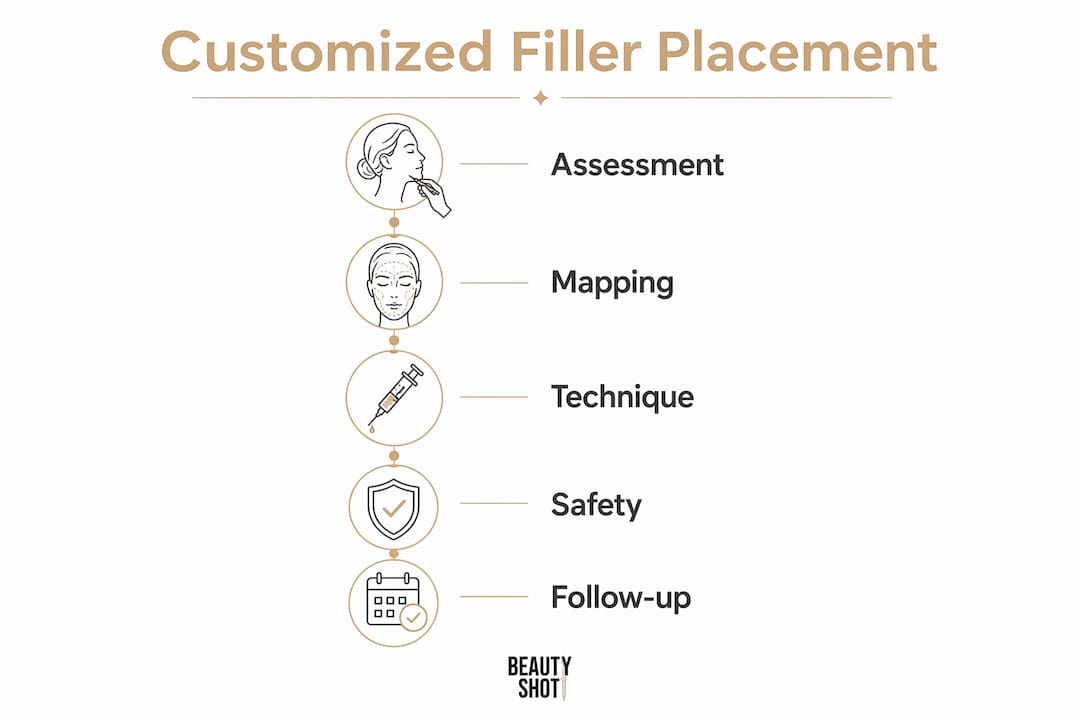
Which facial areas benefit from customised filler, and what does each one achieve?
Every zone of the face has a different anatomical structure, a different relationship to the vessels beneath it, and a different role in how you look. The goal for each area is specific, and filler placement tailored to facial anatomy reflects that.
| Area | Primary goal | How it connects to other zones |
|---|---|---|
| Temples | Restore volume lost to bony resorption; re-establish upper facial width | Lifting the temple softens brow descent and reduces apparent heaviness in the upper face |
| Cheeks / zygomatic arch | Rebuild midface projection and support overlying soft tissue | Cheek support lifts the nasolabial fold and improves the tear trough transition |
| Tear trough / under-eye | Smooth the lid-cheek junction and reduce shadowing | Best addressed after cheek support is in place; overfilling here without cheek support worsens the appearance |
| Nasolabial folds | Soften the fold by restoring cheek volume proximally, or directly filling the fold when residual depth remains | Often partially resolved by cheek treatment alone |
| Marionette lines | Reduce downward pull at the oral commissure | Chin and jaw support changes the mechanical tension on this area |
| Lips | Add definition, hydration, or modest volume; restore vermilion border | Treated independently; product choice and technique differ significantly from structural zones |
| Chin and jawline | Improve projection, define the lower face, and create a cleaner jaw-to-neck transition | Jawline definition changes the perceived width and balance of the entire lower third |
Addressing proximal support before distal concerns is the clinical logic behind a structural-first approach. Treating a tear trough before the cheek beneath it has been restored is one of the most common reasons patients end up with an unnatural result. The anatomy simply does not cooperate when the foundation is missing.
What a thorough consultation actually looks like
A good consultation is a diagnostic conversation, not a product menu. Experienced injectors spend more time asking questions and examining your face than they do discussing syringe counts. Clinical assessment for injectable planning involves roughly eight key parameters, covering everything from periphery-to-midline transitions to tissue quality and symmetry.
The assessment checklist
A thorough evaluation covers:
- Facial thirds proportions (forehead, midface, lower face) and how they relate to each other at rest.
- Bone structure and skeletal support — where resorption has occurred and what that means for overlying tissue.
- Soft-tissue compartments — which fat pads have descended or deflated.
- Skin quality and thickness — thinner skin requires more superficial placement and softer product.
- Muscle movement (dynamic analysis) — how the face moves during smiling, speaking, and raising the brows.
- Asymmetry across x, y, and z axes — true facial symmetry is rare; a skilled injector deliberately places asymmetric volumes to correct rotational differences rather than treating each side identically.
- Prior procedures — previous filler, Botox, or surgical work changes the tissue environment.
- Medical history, medications, and allergies — anticoagulants, autoimmune conditions, and certain supplements affect both safety and healing.
Questions you should expect and ask
- What specific concerns do you see, and what is your recommended sequence?
- Will you photograph my face before we begin?
- How do you handle a vascular complication if one occurs?
- Do you have hyaluronidase on-site?
- What does the follow-up process look like?
The New Aesthetic Unit (NAU) method divides the face into six units, ranks volume deficiency in each, and prescribes a multilayered, unit-based treatment sequence. Methods like this are useful starting points, but a skilled clinician must be able to deviate from any template to address the rotational and skeletal asymmetries unique to each patient.
Key techniques that determine where and how product is placed
The how of an injection matters as much as the where. Depth, instrument choice, and product rheology all interact to produce the final result.
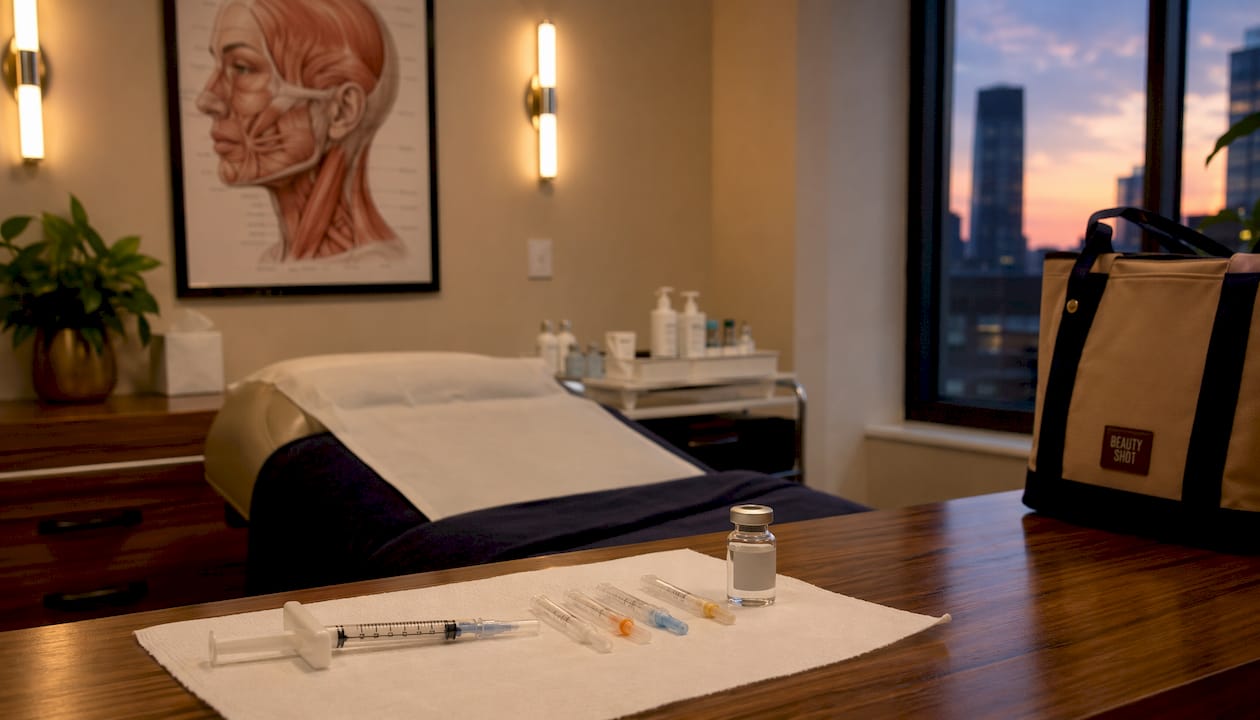
| Technique | Target plane | Main goal | Product considerations |
|---|---|---|---|
| Supraperiosteal bolus | Deep, on bone | Structural projection (chin, cheek, jaw) | Firm, high-G-prime product that holds shape |
| Multilayering | Multiple depths simultaneously | Natural volume distribution across fat compartments | Varies by layer: firmer deep, softer superficial |
| Linear threading | Subcutaneous or intradermal | Fold softening, lip definition | Medium-viscosity product that integrates smoothly |
| Fanning | Subcutaneous | Coverage over larger areas (malar, nasolabial) | Medium-viscosity; allows even distribution |
| Myomodulation | Adjacent to mimetic muscles | Influence muscle pull to soften dynamic lines | Placed relative to muscle, not in it |
Myomodulation and multilayering are the two techniques most associated with natural, dynamic results. Myomodulation places product relative to the mimetic muscles to subtly influence how they pull on the overlying skin. Multilayering deposits product at multiple depths, from the deep fat compartments to the sub-SMAS plane and dermis, so the result moves naturally with your face rather than sitting as a single mass.
Instrument choice carries real safety implications. Cannulas navigate subcutaneous planes with less vessel puncture risk than needles in many areas, particularly the temples and nasolabial region. Supraperiosteal needle boluses provide precise structural projection but require exact landmarking to stay clear of underlying vessels. Neither instrument is universally superior; the choice depends on the zone, the plane, and the injector’s training.
Pro Tip: Ask your injector whether they use both needles and cannulas and how they decide between them for each area. An injector who uses only one instrument for every zone is limiting their safety toolkit.
Safety, high-risk zones, and what to do if something goes wrong
Filler is a medical procedure. The complication rate is low when it is performed by a trained, anatomy-literate injector, but the risks are real and some are serious. Standard safety protocols include informed consent, photographic documentation before treatment, slow injection with small boluses, aspiration where appropriate, and an emergency plan for vascular compromise.

High-risk zones
The nasal dorsum, glabella, and periorbital vasculature carry the highest risk of vascular compromise, a situation where filler occludes a blood vessel and cuts off circulation to the skin or, in rare cases, the eye. The facial artery, supratrochlear artery, and angular artery all travel in areas commonly treated with filler, and their exact paths vary between patients.
Emergency warning signs
If you experience any of the following during or after a filler treatment, tell your injector immediately:
- Blanching (white or pale skin) at or near the injection site
- Severe or disproportionate pain that does not settle quickly
- Vision changes of any kind, including blurring or loss of vision in one eye
- Skin colour changes progressing to a dusky or mottled appearance
Hyaluronidase, the enzyme that dissolves hyaluronic acid filler, must be on-site and immediately accessible to manage vascular events promptly.
Contraindications and pre-screening
Filler is not appropriate during pregnancy or breastfeeding, over an active skin infection, or for patients with certain autoimmune conditions that affect wound healing. A thorough intake form and verbal screening at every appointment, not just the first, is a non-negotiable part of safe practice.
What to expect: results, recovery, and cost in Canada
Timeline
- Immediately after: some swelling, redness, and occasional bruising at injection sites; lips and tear troughs tend to swell more than structural zones.
- 48–72 hours: peak swelling; avoid judging the result at this stage.
- Two weeks: swelling has resolved and product has begun to integrate; this is the right time for a follow-up assessment.
- Three to six months: product fully settles and any minor asymmetries become clearer; touch-up decisions are best made here.
- Beyond six months: longevity depends on the product used, the depth of placement, and individual metabolic factors. Hyaluronic acid fillers in structural zones typically have a longer duration; softer products in superficial planes or high-movement areas like the lips have a shorter duration.
Patient-centred follow-up at 7–14 days for some injection types allows staged corrections rather than overfilling at the first appointment. This is the approach that produces the most natural long-term outcomes.
Cost factors in Canada
Filler pricing in Canada is not standardised. What you pay depends on:
- Product type and rheology — firmer, higher-G-prime products used in structural zones typically cost more per syringe than softer formulations.
- Injector credentials and experience — a registered nurse or physician with advanced training commands a higher fee, and that premium reflects reduced risk.
- Clinic location — urban centres like Toronto and Vaughan generally carry higher overhead than smaller markets.
- Number of syringes and staged sessions — a full-face approach spread across two appointments costs more upfront but often produces a better result than a single heavy session.
- Follow-up fees — ask whether the consultation and two-week follow-up are included in the quoted price.
Pro Tip: Always ask for an itemised quote that lists each area, the product planned, and the syringe volume. An injector who quotes only a total syringe count without a treatment plan is selling product, not a result.
How to choose a qualified injector in Canada
Choosing the right injector is the single most important decision in this process. Credentials, training, and philosophy matter more than price or convenience.
Minimum qualifications to look for
- Medical oversight: in Canada, dermal fillers are regulated as medical devices and should be administered under appropriate medical oversight. Confirm the clinic’s regulatory compliance.
- Registered Nurse (RN) or physician with injectable-specific training: a general nursing licence alone is not sufficient; look for advanced cosmetic injector training.
- Ongoing education: the field evolves quickly. Injectors who attend structured training programmes (such as Allergan techniques, Teoxane Academy, or MD Codes) stay current with anatomy-based methods.
Essential questions to ask
- What assessment framework do you use before planning a treatment?
- How do you manage a vascular complication?
- Do you have hyaluronidase available at every appointment?
- Can I see before-and-after documentation of your work?
- What is your follow-up policy if I am unhappy with the result?
Red flags
- Pressure to book or buy on the same day as the consultation.
- Guarantees of specific outcomes.
- A fixed template approach with no individualised assessment.
- Unwillingness to show documented cases or discuss complications.
- No mention of anatomy, planes, or sequencing during the consultation.
For guidance on choosing injectables for your face shape, a face-shape-specific consultation is the most reliable starting point.
How Beautyshotmedicalclinic applies customised placement in practice
At Beautyshotmedicalclinic, every treatment begins with a comprehensive assessment, not a product recommendation. The clinic workflow follows a clear sequence:
- Intake: medical history, medications, prior procedures, and aesthetic goals are reviewed before the appointment begins.
- Comprehensive assessment: static and dynamic facial analysis across all major zones, with photographic documentation before any product is discussed.
- Treatment plan: a written or verbal plan outlining which areas will be addressed, in what sequence, with what technique, and at what volume.
- Staged treatment: conservative initial volumes with a scheduled follow-up at two weeks; additional product is added only after integration is assessed.
- Follow-up and documentation: post-treatment photos are taken at the follow-up visit to compare results and guide any refinement.
Irene Soni, R.N., BScN, brings nine-plus years of advanced cosmetic injectable experience and a Sunnybrook Hospital Medical/ICU nursing background to every appointment. Her training spans MD Codes, Allergan techniques, Teoxane Academy, Clarion Medical, and programmes with Dr. Mauricio and Dr. Martins Training Center Canada. That clinical foundation means she approaches every face as an anatomy problem first and an aesthetic goal second, which is exactly the order it should be.
Patients are encouraged to bring a list of their medications, any prior procedure records, and photos of results they find natural and appealing. Consent forms and before-and-after documentation are standard at every visit.
Dermal filler regulations in Canada
In Canada, dermal fillers are regulated as Class III or Class IV medical devices by Health Canada, depending on their composition and intended use. This means they require pre-market authorisation before they can be legally sold or used in the country. Hyaluronic acid fillers from manufacturers such as Allergan (Juvéderm) and Galderma (Restylane) hold Health Canada approval; using unapproved products is both illegal and unsafe.
The administration of dermal fillers falls under the practice of medicine in most Canadian provinces. Registered Nurses may administer fillers under a medical directive or with physician oversight, depending on provincial regulations. In Ontario, where Beautyshotmedicalclinic operates, injectors must work within a regulated framework that includes appropriate delegation and oversight. Patients should confirm that their clinic operates under a clear medical oversight model before booking.
This article provides general information only and is not a substitute for professional medical advice. Confirm current regulations and your own eligibility with a qualified healthcare provider.
How to prepare before your appointment and care for your skin after
Before your appointment
- Avoid blood-thinning medications and supplements (aspirin, ibuprofen, fish oil, vitamin E, alcohol) for at least 48–72 hours beforehand, unless prescribed by your physician.
- Arrive with a clean face and no makeup.
- Stay well hydrated in the days leading up to treatment.
- Disclose all medications, supplements, and prior procedures at your intake.
- Avoid scheduling treatment within two weeks of a major event, since bruising and swelling are possible.
After your appointment
- Apply a cold compress gently to swollen areas for the first 24 hours; do not apply direct ice.
- Avoid strenuous exercise, saunas, and alcohol for 24–48 hours.
- Sleep with your head slightly elevated the first night to reduce swelling.
- Do not massage the treated areas unless your injector specifically instructs you to.
- Avoid facials, laser treatments, and microneedling for at least two weeks.
- Contact your clinic immediately if you notice blanching, severe pain, or any vision changes.
For a detailed walkthrough of first filler treatment expectations, reviewing what is normal versus what requires a call to your clinic is worth doing before your appointment.
Key takeaways
Customised filler placement produces safer, more natural results because it is built on anatomy, not volume targets.
| Point | Details |
|---|---|
| Anatomy-first planning | A thorough static and dynamic assessment across roughly 8 parameters guides every placement decision. |
| Structural-first sequencing | Restoring temples, cheeks, and jaw first often reduces the need to treat secondary folds and hollows. |
| Conservative staged volumes | Starting with less product and reassessing at two weeks prevents overfilling and preserves natural expression. |
| Injector credentials matter | Look for RN or physician training, ongoing education, hyaluronidase on-site, and a documented assessment process. |
| Beautyshotmedicalclinic | Offers anatomy-led, staged filler treatments in Woodbridge, Vaughan, performed by Irene Soni, R.N., BScN. |
A note from the clinic
The patients I find most rewarding to treat are the ones who come in saying, “I just want to look like myself again.” That is exactly the right goal, and it is the one I build every treatment plan around. Filler done well should be invisible. Nobody should be able to tell you had anything done; they should just notice that you look well-rested and balanced.
What I want you to take away from this guide is that the consultation is where the real work happens. The injections themselves are the easy part. If your injector is not spending time examining your face, asking about your history, and explaining a sequence before reaching for a syringe, that is worth pausing over. Bring the checklist from this article to your appointment. Ask the questions. A practitioner who is confident in their approach will welcome every one of them.
Ready to book your consultation at Beautyshotmedicalclinic?
At Beautyshotmedicalclinic in Woodbridge, Vaughan, every filler appointment begins with a comprehensive facial assessment, not a product pitch. You get a clear treatment plan, conservative initial volumes, and a scheduled follow-up so your result can be refined rather than rushed. That is a meaningfully different experience from a clinic that quotes syringes before examining your face.
To book, visit the dermal fillers service page and request a consultation. When you come in, bring:
- A list of your current medications and supplements
- Notes on any prior cosmetic procedures
- Photos of results you find natural and appealing
- Your questions from the consultation checklist above
Irene Soni, R.N., BScN, will walk you through a full assessment and a realistic plan before any treatment is discussed. The goal is always the same: you, refreshed.
Useful sources
The following clinical and academic sources informed this article. They are worth reading if you want to go deeper on any of the techniques or safety protocols discussed.
- Facial fillers: relevant anatomy, injection techniques, and complications (PMC) — a comprehensive clinical review covering facial planes, soft-tissue compartments, injection techniques by zone, and complication management.
- Clinical assessment parameters for facial injectable planning (PMC) — outlines the key parameters practitioners evaluate during a structured facial assessment, including periphery-to-midline transitions and tissue quality.
- Implementing individualised facial assessment improves retention (journal article) — documents the clinical and patient-satisfaction outcomes associated with formalised facial assessment protocols.
- Patient-specific treatment and psychosocial wellbeing with HA fillers (EMJ review) — panel consensus on patient-centred communication, follow-up timing, and staged correction approaches.
- The patient journey and safety considerations in facial aesthetics (consensus report) — covers standard safety protocols including hyaluronidase availability, photographic documentation, and emergency planning.
- Advanced injection techniques: myomodulation and multilayering (Springer) — explains how myomodulation and multilayering work anatomically and why they produce more natural dynamic results.
- New Aesthetic Unit (NAU) method for panfacial HA filler treatment (Aesthetic Plastic Surgery) — describes a six-unit, multilayered assessment and treatment sequencing framework.
- The facial shapes in planning treatment with injectable fillers (PMC) — reviews how face shape influences treatment priorities and volume distribution across zones.
FAQ
What is customized filler placement in simple terms?
It is the practice of mapping each injection to your specific facial anatomy, proportions, and goals rather than applying a standard volume to a standard location. The result is a more natural, balanced outcome that typically requires less product.
Where is the riskiest place to get fillers?
The nasal dorsum, glabella, and periorbital area carry the highest risk because the vessels there, including the supratrochlear and angular arteries, are close to the surface and supply critical structures. Vascular compromise in these zones can cause skin necrosis or, in rare cases, vision loss, which is why they require the most experienced injectors and the strictest safety protocols.
What is the most painful area to get fillers?
The lips are generally the most sensitive area due to the high concentration of nerve endings around the vermilion border. The tear trough and nasal base can also be uncomfortable; most clinicians use topical anaesthetic and, in some cases, lidocaine-containing filler to manage discomfort.
How much do multiple syringes of filler cost in Canada?
Filler pricing in Canada is not standardised and depends on product, provider credentials, and clinic location. A full-face or multi-area treatment involving several syringes can vary widely in total cost. Always request an itemised quote that lists each area and product planned.
Where is the best place to put fillers for a natural result?
The answer depends entirely on your anatomy. For most patients, starting with structural zones, specifically the temples, cheeks, and jawline, produces the most natural improvement because it restores the foundation that supports the rest of the face. Treating isolated surface concerns without that structural base often leads to results that look heavy or unnatural over time.