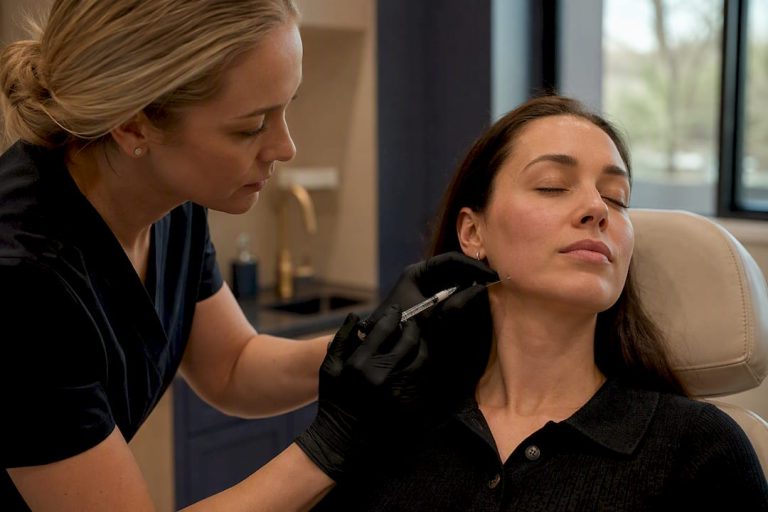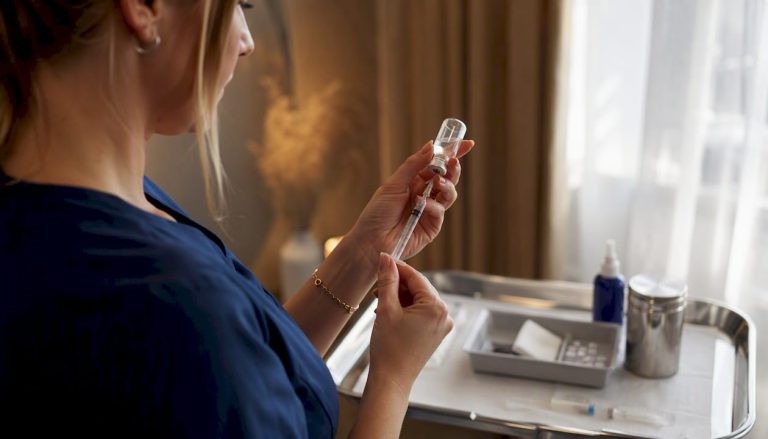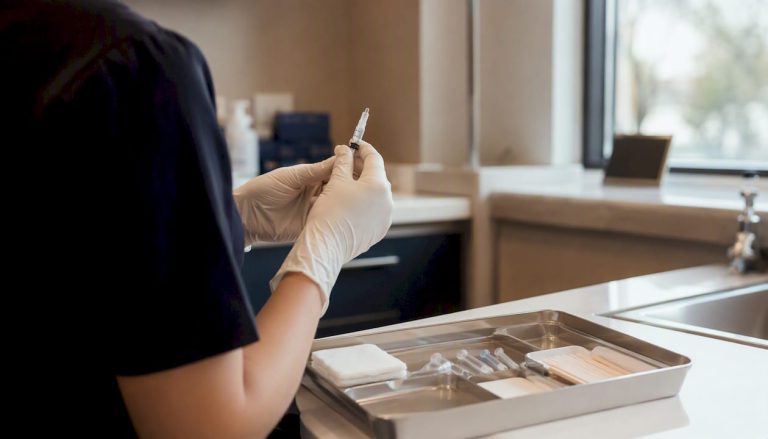

How to prepare for a filler appointment: your essential checklist
The most effective way to prepare for a dermal filler appointment is to stop blood-thinning medications and supplements at least 7 days before treatment, arrive with clean, makeup-free skin, and disclose your full medical history during your consultation. These steps, taken together, reduce bruising, lower infection risk, and give your injector the information they need to treat you safely.
Here is a quick-reference checklist before we go deeper into each step:
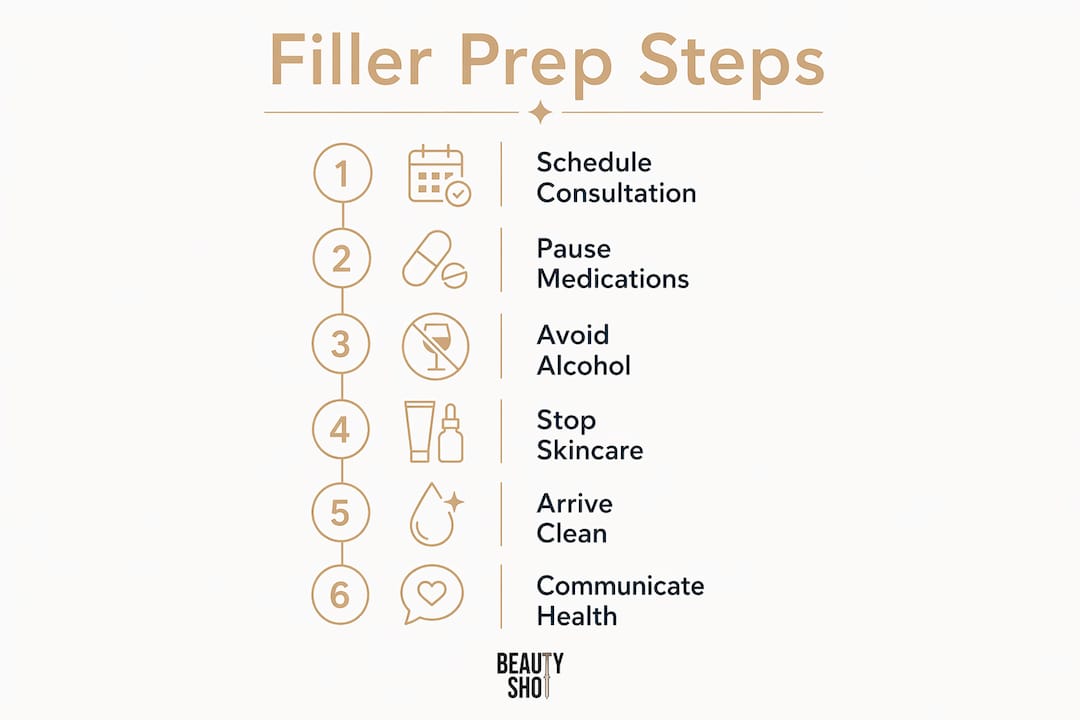
- Stop blood thinners and supplements (aspirin, ibuprofen, fish oil, vitamin E, ginkgo biloba, evening primrose oil) at least 7 days before, if medically safe to do so
- Avoid alcohol for 24–48 hours before your appointment
- Pause retinoids, glycolic acid, and exfoliants at least 3 days before treatment
- Eat a full meal and stay hydrated before you arrive
- Arrive with a clean, bare face — no makeup, moisturiser, or sunscreen
- Disclose your full medical history, including allergies, prior cosmetic treatments, and any recent illness or dental work
- Schedule well ahead of major events to allow adequate healing time
Every one of these steps has a clinical reason behind it. Understanding the “why” makes it far easier to follow through, and that is exactly what the sections below cover.
What to stop taking in the week before your filler treatment
The week leading up to your appointment is when preparation does the most work. Most bruising and swelling after filler comes down to factors you can actually control in advance.
Medications and supplements to pause
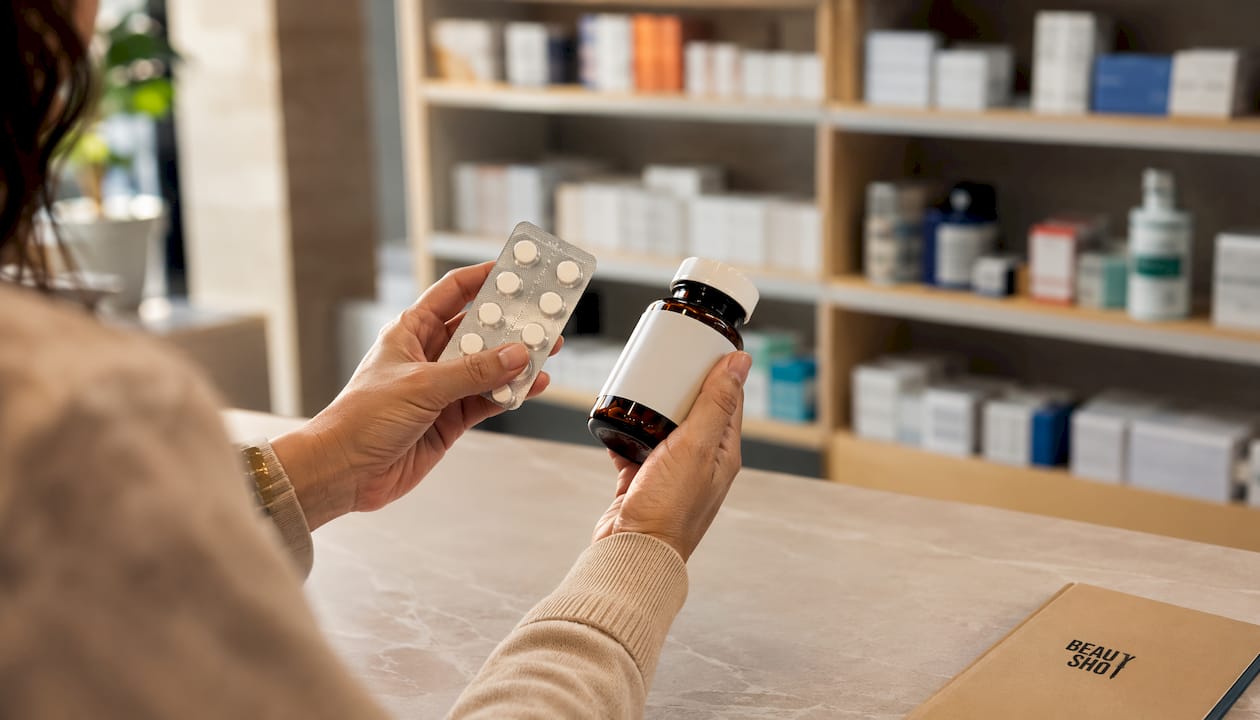
Blood-thinning medications and supplements increase the risk of bruising by preventing normal clotting at the injection site. The standard guidance is to stop the following at least 7 days before your appointment, if your doctor confirms it is safe:
- Aspirin and NSAIDs (ibuprofen, naproxen, Aleve, Motrin)
- Fish oil and omega-3 capsules
- Vitamin E supplements
- Ginkgo biloba
- Evening primrose oil
- Garlic supplements and St. John’s Wort
One important caveat: never stop a prescription blood thinner without speaking to your prescribing physician first. If you take aspirin for cardiovascular reasons, check with your doctor before making any changes. Your safety overall comes before bruising prevention.
Alcohol also dilates blood vessels, raising bruising risk in the same way. Avoid it for at least 24–48 hours before your appointment.
Skincare products to pause
Topical retinoids, glycolic acid, alpha hydroxy acids, and other exfoliants should be stopped 3 days before treatment. These products thin and sensitise the skin’s surface, which can increase irritation and complicate the injection process. Waxing, bleaching, tweezing, or hair removal creams on the treatment area should also be avoided during this window.
Illness, dental work, and vaccinations
Arriving with a clean, makeup-free face is one of the simplest ways to reduce infection risk on treatment day. Beyond that, let your provider know if you have had any infection in the 7 days before your appointment, including a UTI, respiratory infection, or sinus infection. Dental work and vaccinations require a buffer period before and after filler treatment, and oral surgery requires a four-week gap. These precautions exist because immune activity around the time of injection can affect how filler settles and increase the risk of delayed reactions.
If you have a history of cold sores, tell your provider before your appointment. Antiviral medication may be prescribed to prevent a flare-up triggered by the treatment.
Pro Tip: Write down every supplement you take, not just prescription medications. Many patients forget to mention fish oil or herbal supplements, and these can meaningfully increase bruising.
Day-of guidelines for a smooth, safe appointment
The morning of your appointment, a few straightforward habits make a real difference to both your comfort and your results.
Arrive clean and prepared
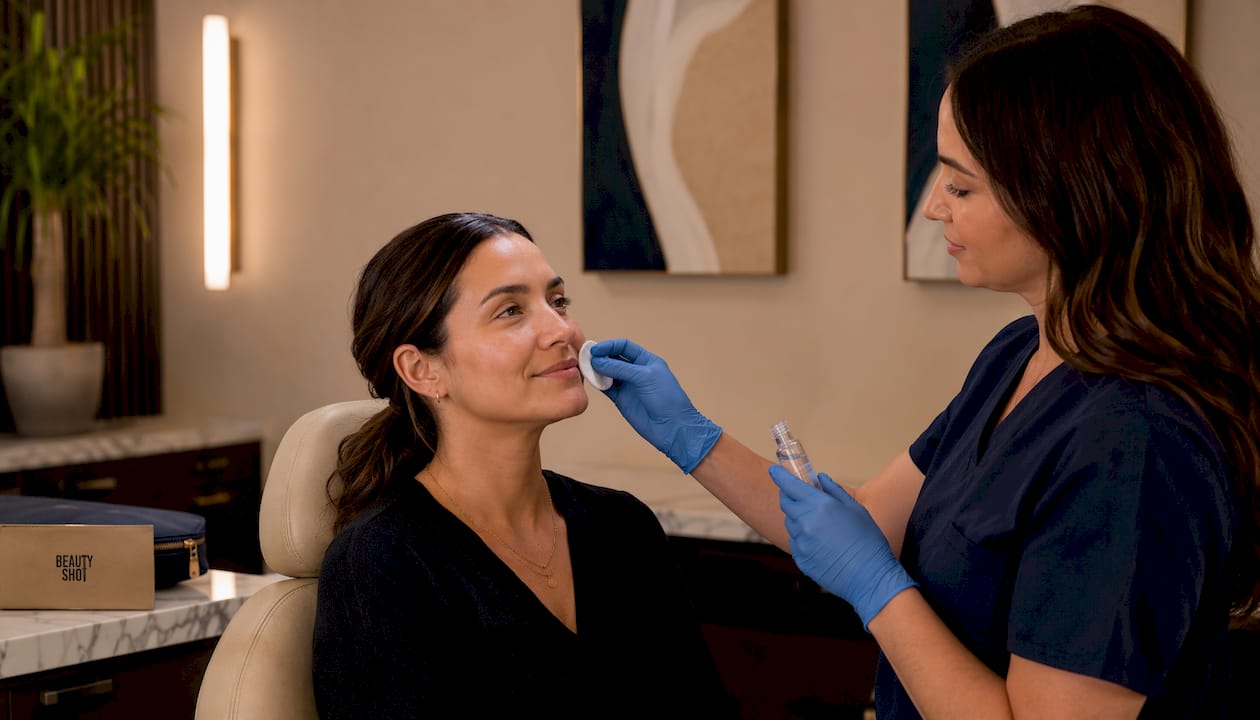
Come with a freshly washed face and no makeup, moisturiser, sunscreen, or perfume. Your injector needs direct access to clean skin to apply topical numbing cream and to assess your facial anatomy accurately before injecting. Skip hanging earrings and jewellery around the face and neck as well.
Eat and hydrate beforehand
Eat a full, balanced meal at least 2 hours before your appointment and arrive well hydrated. Treating on an empty stomach can make you feel lightheaded, especially if you are nervous. Good hydration also supports skin quality and can make the procedure slightly more comfortable overall.
What to avoid on treatment day
- Strenuous exercise before and after your appointment
- Alcohol — even a small amount on the day increases bruising risk
- Blood-thinning medications, including NSAIDs, if you have not already paused them
Communicating with your injector
If anything has changed since you booked — a new medication, a cold, a dental procedure, a cold sore — tell your provider before treatment begins. Open communication is one of the most protective things you can do. Ask any last-minute questions you have about the procedure, the product being used, and what sensations to expect.
What the injection feels like
A topical anaesthetic cream is typically applied before treatment to minimise discomfort. You may still feel mild pressure, a brief stinging sensation, or occasional sharper moments during injection. This is normal. If you experience significant pain at any point, say so immediately. Your injector can adjust their technique or take a short break.
Your provider may gently massage the treated area during the appointment to distribute the filler evenly. This can cause temporary redness, which resolves quickly. After your appointment, sanitise your phone before putting it to your face and use speaker mode as much as possible for the rest of the day.
Post-treatment care and managing common side effects
Aftercare is where many patients underestimate how much they can influence their results. The first two weeks matter.
What to expect after treatment
Swelling, tenderness, and bruising are normal and expected. These side effects typically peak within 48 hours and resolve gradually over 1–2 weeks. Lips and the under-eye area tend to bruise more readily than cheeks or the jawline. Do not judge your results until at least two weeks post-treatment, when swelling has fully settled.
How to manage swelling and bruising
- Apply a cold compress (wrapped in a cloth, never directly on skin) for 10 minutes on, 10 minutes off during the first 24 hours
- Take paracetamol (Tylenol) for discomfort. Avoid NSAIDs post-injection as they thin the blood and can worsen bruising
- Stay hydrated and get adequate rest
- Sleep on your back with your head slightly elevated to reduce facial pressure
What to avoid after your appointment
- Rubbing, pressing, or massaging the treated area unless your injector specifically instructs you to
- Strenuous exercise for at least 24 hours
- Saunas, hot baths, and steam rooms for 24–48 hours, as heat worsens swelling
- Alcohol for at least 24 hours post-treatment
- Skincare with active ingredients (retinoids, acids) until the skin has fully settled
- Massage tables for 24–48 hours to reduce the risk of filler migration
- Smoking and nicotine products, which impair healing
You can resume makeup after 24 hours using gentle, sweeping motions. Avoid excessive scrubbing or rubbing of the treated area.
When to contact your provider
Most side effects are mild and resolve on their own. Contact your provider promptly if you notice:
- Unusual or worsening pain beyond the first day or two
- White patches or blanching at the injection site
- Severe or rapidly increasing swelling
- Any changes to your vision
These can be signs of a vascular complication, which requires immediate attention. Reputable clinics have protocols in place for exactly this scenario.
Follow-up appointments
Most providers schedule a follow-up at two to four weeks post-treatment to assess results and address any concerns. Attend this appointment even if you are happy with your results. It gives your injector the opportunity to evaluate how the filler has settled and plan any future treatments with full context. For detailed guidance on lip filler aftercare, Beautyshotmedicalclinic has a dedicated resource worth reviewing.
Expert guidance on safety, consultation, and choosing the right provider
Preparation does not start the week before your appointment. It starts the moment you choose who will treat you.
The consultation is a clinical planning session
A thorough consultation involves medical history review, facial anatomy assessment, and realistic goal-setting with your provider. Your injector should ask about your current medications, supplements, allergies, prior cosmetic treatments, and any relevant health conditions. They should examine your face, take baseline photographs, and explain exactly which product they recommend using and why. This is also your opportunity to ask questions and confirm you feel comfortable before proceeding. A good provider will never pressure you to go ahead on the same day if you need time to think.
Understanding the medical rationale behind each preparation step, rather than just following a list, genuinely reduces anxiety and improves adherence. Patients who know why they are avoiding ibuprofen are far more likely to actually do it.
Choosing a qualified injector
Selecting a medically qualified injector with specialised facial anatomy training and established emergency protocols significantly improves treatment safety. Medical qualification alone is not enough. Your provider should have completed dedicated training in injection techniques, product knowledge, and complication management. Ask to see a portfolio of their work, and look for natural, balanced results rather than dramatic transformations.
Ask directly whether your provider carries hyaluronidase on-site. Hyaluronidase availability and vascular occlusion protocols are markers of a reputable, safety-focused practice. If a clinic cannot answer that question clearly, look elsewhere.
Delivering subtle, age-appropriate enhancements requires deep knowledge of facial anatomy and technical injection skills that only properly trained medical professionals possess. The product used matters far less than the hands and judgement of the person injecting it.
Understanding filler types and what will be used
Safe, approved filler options include hyaluronic acid, calcium hydroxylapatite, poly-L-lactic acid, and polymethyl methacrylate. Hyaluronic acid fillers are the most commonly used for facial volume and lip enhancement because they are reversible with hyaluronidase if needed. Your provider should explain which product they are recommending for your specific anatomy and goals, and why. If you are curious about the differences between lip and dermal fillers, that is a worthwhile conversation to have during your consultation.
Managing expectations and contraindications
Social media creates unrealistic expectations about filler results. A well-executed first treatment should leave you looking refreshed and improved, not dramatically different. The best results are the ones nobody notices unless you mention them. Bring reference photos to your consultation if you like, but understand that your facial anatomy is unique and your provider will advise on what is genuinely achievable for your face.
Filler is not appropriate for everyone. Dermal fillers may not be suitable for people with certain bleeding disorders or allergies. Pregnancy and breastfeeding are absolute contraindications. Your provider will assess these factors during your consultation.
Schedule your appointment well ahead of any major social event to allow adequate time for swelling and bruising to resolve. Results from filler typically take 4–7 days to appear, and mild bruising may be visible during that window.
How Beautyshotmedicalclinic approaches your care
At Beautyshotmedicalclinic in Woodbridge, Vaughan, all injectable treatments are performed by Irene Soni, R.N., BScN, an advanced cosmetic nurse injector with over 9 years of experience and a background in Medical/ICU nursing at Sunnybrook Hospital. Irene’s training spans Allergan techniques, MD Codes, Teoxane Academy, Clarion Medical, and advanced programmes with Dr. Mauricio and Dr. Martins Training Center Canada. Every treatment plan is built around your individual facial anatomy and goals, with a focus on natural, refreshed results that still look like you. You can learn more about what to expect from your first filler treatment on the Beautyshotmedicalclinic website.
If you are considering dermal fillers in Woodbridge, booking a consultation is the right first step. Come with your questions, your medical history, and realistic goals. That conversation is where safe, beautiful results begin.
Key takeaways
Preparing properly for a filler appointment means pausing blood-thinning medications and supplements at least 7 days before, avoiding alcohol for 24–48 hours, stopping retinoids 3 days prior, arriving with clean skin, and disclosing your full medical history during consultation.
| Point | Details |
|---|---|
| Pause blood thinners early | Stop aspirin, NSAIDs, fish oil, vitamin E, and ginkgo biloba well before treatment, if medically safe. |
| Avoid alcohol beforehand | Skip alcohol for 24–48 hours before treatment to reduce bruising and swelling risk. |
| Stop exfoliating skincare | Pause retinoids, glycolic acid, and exfoliants 3 days before to prevent skin sensitivity. |
| Disclose your full history | Share all medications, supplements, allergies, and prior treatments during your consultation. |
| Choose a qualified injector | Select a medically trained provider with facial anatomy expertise and on-site hyaluronidase. |
FAQ
What should you avoid before a filler appointment?
Avoid aspirin, NSAIDs, fish oil, vitamin E, ginkgo biloba, and alcohol for at least 7 days and 24–48 hours before treatment, respectively. Also pause retinoids and exfoliants 3 days prior, and arrive with a clean, makeup-free face.
Is filler hard or lumpy right after treatment?
Some firmness or unevenness immediately after injection is normal as the product settles. Swelling peaks within 48 hours and resolves gradually over 1–2 weeks; final results should not be assessed until at least two weeks post-treatment.
What is the most uncomfortable area for filler?
Lip filler tends to cause more discomfort than cheek or jawline treatment because the lips are highly sensitive. Topical numbing cream is applied beforehand to minimise this, and most patients find the sensation manageable.
Can you wear makeup to your filler appointment?
No. Arrive with a completely clean face, free of makeup, moisturiser, and sunscreen. Clean skin reduces infection risk and allows your injector to assess your facial anatomy accurately before treatment.
How long does a filler appointment typically take?
A first appointment, including consultation, numbing time, and treatment, generally takes about an hour. Returning patients with an established treatment plan may have shorter visits, though the numbing process alone typically requires several minutes.
Recommended
- How to Prepare for Lip Fillers: The Ultimate Pre-Treatment Guide – Beauty Shot | Botox Fillers Woodbridge Vaughan
- First filler treatment expectations: what you need to know
- Ultimate Guide to Lip Fillers: What You Need to Know Before Your Appointment – Beauty Shot | Botox Fillers Woodbridge Vaughan
- Steps to Schedule Your First Dermal Filler Appointment – Beauty Shot | Botox Fillers Woodbridge Vaughan